Harnessing the potential of fungi, particularly the Blue Oyster Mushroom Mycelium, marks an interesting venture in the realm of sustainable food sources. This guide deconstructs the intricate and fascinating process of cultivating this species of fungi. Be it for personal enrichment, culinary purposes, or simple curiosity, “Cultivating Blue Oyster Mushroom Mycelium: A Guide” will surely guide you through the fundamental steps to successfully grow your own mushrooms. You will absorb key knowledge about this species—understanding their preferred environment, life cycle, and potential uses. Consider this your manual for navigating the world of mushroom cultivation. This is not just a hobby, but a rich learning opportunity that intertwines science, nutrition, and sustainability.
Understanding Blue Oyster Mushroom Mycelium
Definition of mycelium
The integral part of a fungal organism, mycelium, comprises a vast entanglement of microscopic hyphae. This invisible network connects and communicates with plants, improving resources’ distribution. It is essentially the vegetative component of the fungus and plays a critical role in nutrient and water absorption.
Specific characteristics of blue oyster mushroom mycelium
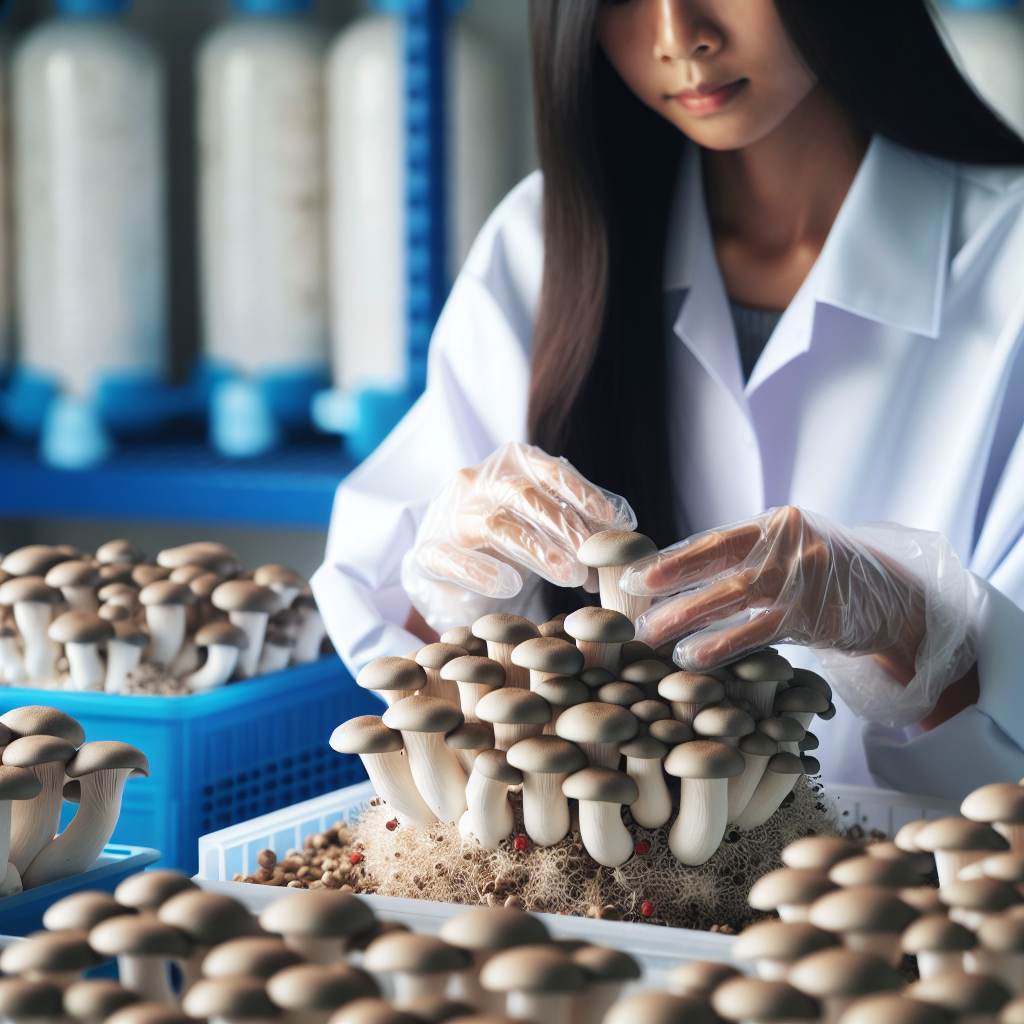
Blue oyster mushroom mycelium, scientifically named as Pleurotus ostreatus, displays unique attributes. It is swift-growing, covering the cultivation medium in an exceptional timescale. Besides, it is considerably resilient, maintaining its growth in diverse temperature ranges. It assumes a white to pale color, exhibiting a cotton-like appearance that progressively engulfs the substrate during the mushroom growth stages.
Benefits of Cultivating Blue Oyster Mushrooms
Nutritional value
Blue oyster mushrooms are nutrient-rich, providing significant health-related benefits. They are an excellent protein source, beneficial vitamins like B and D, and key minerals such as potassium and iron. Furthermore, they have a low fat and sodium content, making them ideal for a health-conscious diet.
Medicinal properties
Besides their superior nutritional offering, blue oyster mushrooms possess noteworthy medicinal properties. They contain polysaccharides and sterols recognized for their anticancer potential. Additionally, they promote cardiovascular health by reducing bad cholesterol in the body.
Environmental benefits
Blue oyster mushrooms also deliver environmental benefits. They assist in managing agricultural waste as they can grow on many types of biomass. Also, their mycelium can absorb pollutants, heavy metals, and even bacteria acting as a form of bioremediation.
Requirements for Blue Oyster Mushroom Cultivation
Optimal temperature
Temperature plays a decisive role in blue oyster mushroom cultivation. The mycelium thrives at temperatures ranging between 21 to 24°C, while the fruiting bodies form best at a slightly cooler 10 to 20°C.
Humidity levels
Proper moisture levels are essential for both mycelium growth and mushroom fruiting. Humidity levels should ideally be maintained at around 80-85% for mycelium run, and increased up to 90-95% during the fruiting phase.
Lighting
Blue oyster mushrooms need indirect, diffused light for stimulating growth and maintaining health. Excessive light or direct sunlight can harm the mycelium and retard mushroom growth.
Air exchange
Air exchange is vital to avoid buildup of carbon dioxide, which can inhibit mycelium growth and fruit body formation. Proper ventilation within the growing area helps ensure a healthy and abundant yield.
Preparing the Cultivation Environment
Sanitization process
Proper sanitization is crucial to prevent contamination from harmful bacteria or other undesirable fungi. The cultivation area, tools, and containers should be thoroughly cleaned with a 10% bleach solution.
Creating the right temperature conditions
Maintain a room temperature of 21-24 °C for mycelium growth and lower it to around 10-20°C during the fruiting phase. Use heaters or coolers where necessary to regulate the temperature.
Setting up lighting
Set up a lighting system providing indirect, diffused light using fluorescent or LED lights. Ensure the lights are turned on for around 12 hours a day, mimicking a natural day-night cycle.
Managing humidity and air circulation
Maintain a humid environment using humidifiers or manual misting, and ensure adequate air exchange by installing ventilation systems or manually fanning the growing area multiple times a day.
Getting the Blue Oyster Mushroom Spores
Accredited sources for mushroom spores
Ensure you procure mushroom spores from reliable, accredited sources to guarantee the best quality and a high success rate in cultivation. Many online platforms specialize in mushroom spores, with customer reviews to aid your selection.
Selecting the best quality spores
High-quality spores increase the chance of a successful, healthy yield. The best spores are typically clean, dry, and free from any signs of contamination such as mold or irregular coloration.
Storage of mushroom spores
Store mushroom spores in a cool, dark, and dry place. Refrigeration is not advised as it can lead to condensation and moisture buildup, which can negatively impact the spores’ viability.
Inoculation Process
Step by step inoculation process
Inoculation begins with opening the spore package in a sterile working area, transferring them onto the sterilized substrate, then sealing the inoculation bag or jars tightly. They are then stored in a dark, warm place to allow the spores to germinate and colonize the substrate.
Mistakes to avoid during inoculation
Contamination is a potential risk during inoculation. Always work in a clean, sterile area, and avoid touching spores or substrate with bare hands. Also, never use old or contaminated substrate for inoculation.
Post-inoculation care
After inoculation, the jars or bags should be kept in a warm, dark place and occasional checks to ensure there is no contamination. The substrate should not be moved or shaken to avoid disturbing the mycelium’s growth.
Making and Sterilizing Substrate
Commonly used substrates for blue oyster mushrooms
Blue oyster mushrooms are versatile growers and can utilize diverse substrates. Common substrates include straw, wood chips, sawdust, grain, paper products, coffee grounds, and cotton waste.
Creating your own substrate
You can create your own substrate mix using a combination of the materials mentioned above. The key is to ensure a balance between nutrition, moisture-retention capability, and structure for-growth support.
How to sterilize the substrate before use
Substrate sterilization involves heat treatment to kill potential contaminants. This can be achieved through boiling, baking, or pressure cooking the substrate for a set period. Once sterilized, it is essential to let the substrate cool before use.
Incubation Stage
Where and how to keep your inoculated substrate
The inoculated substrate should be stored in a warm and dark location, away from direct sunlight. The storage space should be clean to avoid contamination.
How long does the incubation period last
The incubation period varies, but it generally ranges from 2 to 4 weeks for blue oyster mushrooms. It’s based on several factors like temperature, humidity, and substrate’s nutritional quality.
Signs of healthy mycelium growth
Healthy mycelium presents as white, cotton-like growth over the substrate. It should uniformly colonize the substrate. Any other color or unpleasant smell can be a sign of contamination.
Fruiting Stage
Environmental changes to initiate fruiting
Fruiting is stimulated by introducing changes in the environment, such as reducing temperature, increasing humidity, and introducing indirect light.
Signs of fruiting bodies forming
The first sign of fruiting is the appearance of small white bumps, known as primordia or “pins.” These gradually develop into mature mushrooms over the next few days.
Harvesting your blue oyster mushrooms
Blue oyster mushrooms are ready to harvest once the edges of the caps begin to flatten out, usually a few days after first seeing the pins. They should be harvested by gently twisting and pulling at their base.
Potential Challenges and Solutions in Blue Oyster Mushroom Cultivation
Common diseases and pests
Common issues include contamination by molds, bacteria, or competing fungi, which typically result from unsanitary practices. Pests like flies or mites can be a problem and can be managed by strict hygiene measures.
Dealing with contamination
If contamination occurs, the best course of action is to remove and dispose of the affected substrate immediately to avoid spreading. The cultivation area should be thoroughly cleaned and sterilized before a new batch.
Overcoming environmental challenges
Maintaining optimal conditions can be challenging, especially for small-scale or home growers. Variations in temperature, humidity, or lighting can be navigated using equipment like heaters, humidifiers, and grow lights to regulate these factors.
Solutions to poor yield
Poor yield can be due to poor quality spores, inadequate environmental conditions, or unsuitable substrate. Improving these factors can significantly enhance the chances of a successful and plentiful harvest.